
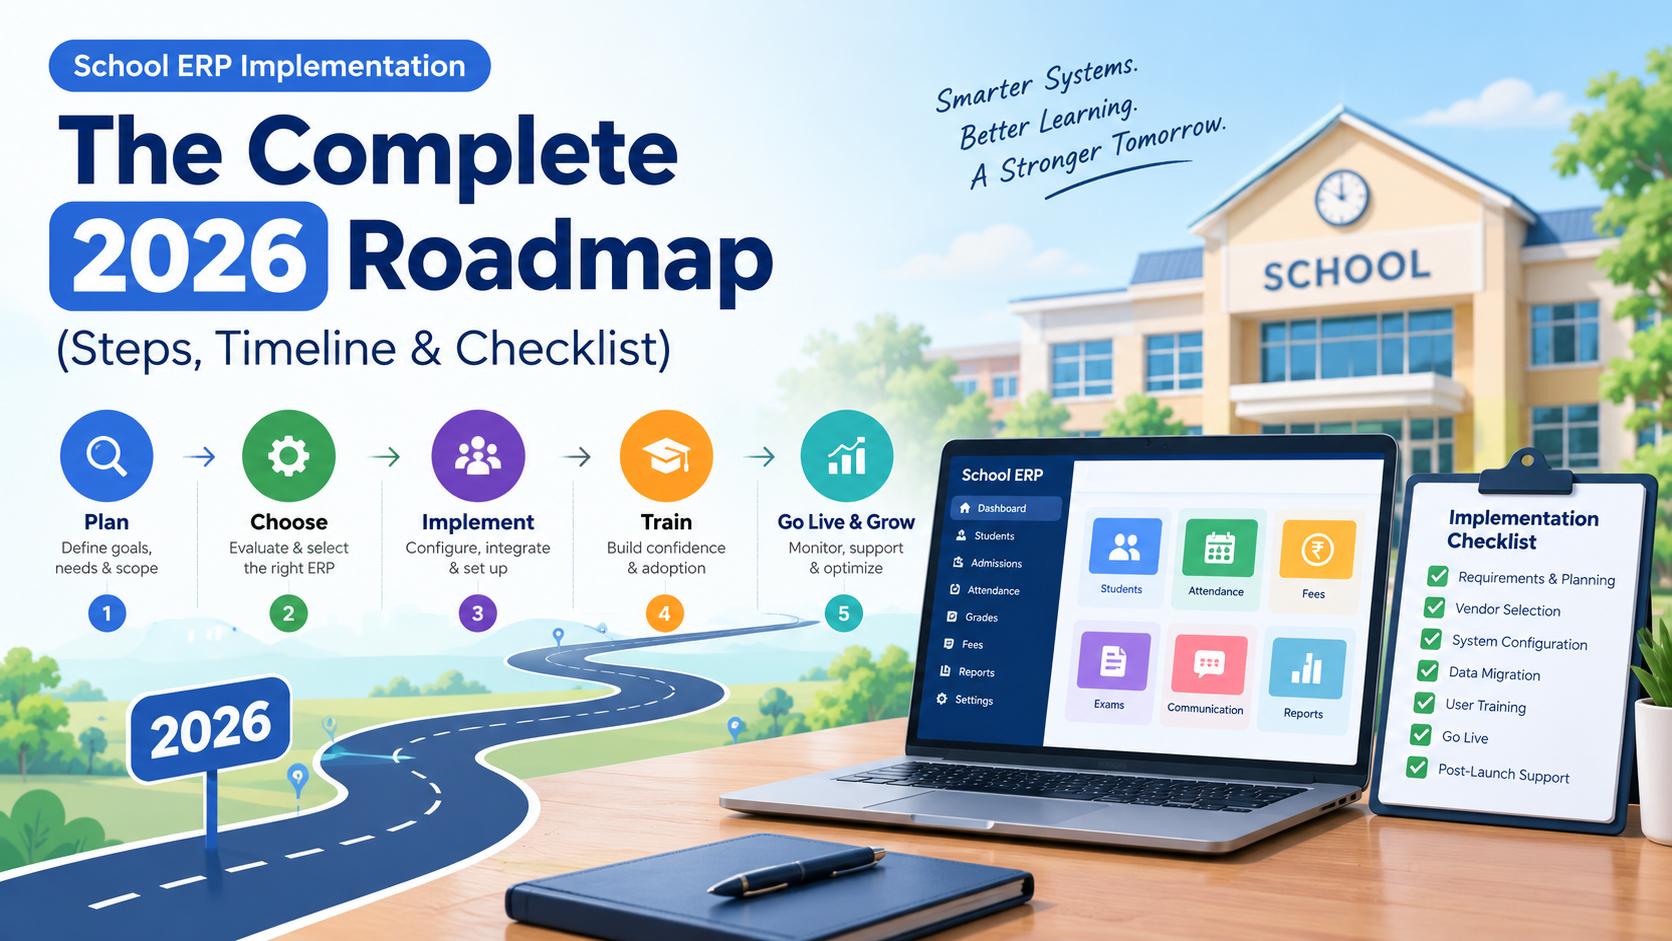
Buying a school ERP takes a few weeks. Making it work takes a few months. And the second part decides whether you get a system your whole school runs on, or an expensive login page that teachers quietly avoid.
This guide covers that second part. You will learn what school ERP implementation involves, who owns each task, how long it realistically takes, what it costs beyond the subscription, and how to launch without breaking fee collection, attendance, or exam season. If you are still at the research stage, start with our overview of ERP software for schools and come back once you have a shortlist.
Quick answer: What is school ERP implementation? School ERP implementation is the process of turning purchased software into the school's working system. It covers goal-setting, data cleanup and migration, configuration, permissions, integrations, testing, role-based training, a pilot, go-live, and post-launch support. Most schools need 8 to 24 weeks, depending on size, data quality, and the number of modules. The most reliable approach is to launch the core modules first (student records, attendance, fees, communication) and add the rest in later phases.
What School ERP Implementation Actually Covers
Implementation is not installation. For a cloud-based system there is usually nothing to install. The real work is organizational:
- Decisions: Which processes change, and who approves what?
- Data: Which records move over, and who confirms they are correct?
- Configuration: Fee heads, grading rules, report cards, and timetables set up the way your school actually works.
- People: Teachers, accountants, front-office staff, and parents using the system in daily work.
The vendor handles the technical side. The first three items above sit mostly with the school. That is why two schools buying the same product can end up with completely different results.
Implementation also looks different depending on what you bought. A cloud-based school ERP removes server setup and most hardware work, so your effort goes into data and training. An on-premise system adds infrastructure planning on top. If you are comparing options before you commit, our guides to the best ERP software for schools in 2026 and the top school ERP software of 2026 cover how platforms differ.
Why School ERP Rollouts Fail
When a rollout disappoints, the cause is rarely a missing feature. It is usually one of these patterns:
- Shadow systems. Teachers keep paper registers "just in case," and accounts keep an Excel ledger alongside the ERP. Two sources of truth mean neither is trusted.
- Dirty data on day one. Duplicate students, wrong phone numbers, and unreconciled fee balances show up on parents' screens and destroy confidence quickly.
- Launch during a peak period. Going live in admission season, fee-due week, or exams stacks change on top of the busiest weeks.
- No named owner. Everyone assumes someone else is checking.
- Training that does not stick. One long session, months before launch, forgotten by go-live.
Even large organizations struggle with this. Frontline Education, a K-12 software provider, notes that a successful ERP rollout requires commitment and careful change management, and that central-office turnover can make the transition harder. Each of these failure patterns is preventable, and the 12 steps below are built around them.
Are You Ready? An 8-Question Readiness Check
Answer honestly before you set a date.
- Do you have 2-3 measurable goals, not just "go digital"? If not, write them in Step 1.
- Is one named person accountable for the rollout? If not, appoint a project lead.
- Can you free 4-8 hours a week for the core team? If not, reschedule duties or push the date.
- Do you know where every student, fee, and staff record lives today? If not, run a data inventory.
- Is your fee structure written down, including concessions and exceptions? If not, document it with the accountant.
- Do staff have devices and reliable internet where they will use the system? If not, plan connectivity fixes.
- Does the proposed go-live avoid admissions, fee-due, and exam weeks? If not, move the date.
- Has leadership agreed which old processes will be retired, and when? If not, decide before launch.
Two or more "no" answers means fixing those first will save more time than starting early.
The 12-Step School ERP Implementation Roadmap
Step 1: Define Goals and Success Metrics
Write down two or three outcomes you can measure, with a baseline and a target:
- Fee reconciliation takes 6 days a month; target: 1 day.
- Absence alerts reach parents the same morning, not the next week.
- Report cards generated in one day instead of three.
These become your yardstick later. Without a baseline, you cannot prove the ERP worked, and you cannot tell whether a problem is the software or the process.
Step 2: Build the Team and Assign Decision Rights
Keep the core team to 6-8 people. Name one project lead with real authority, and match each task to a clear owner.
| Role | Typical person | Owns |
|---|---|---|
| Executive sponsor | Principal / Director | Final decisions, removes blockers |
| Project lead | Senior administrator | Timeline, vendor coordination |
| Finance lead | Accountant / bursar | Fee structures, balances, payment gateway |
| Academic lead | Vice principal / exam head | Grading, report cards, timetable |
| Data owner(s) | Admin / registrar | Student and parent records |
| IT coordinator | IT head or outsourced | Devices, network, integrations, access |
| Teacher champion | Respected classroom teacher | Staff buy-in, real-world testing |
| Vendor project manager | From your ERP provider | Configuration, migration, training delivery |
Include the teacher champion deliberately. Staff trust colleagues more than memos.
Step 3: Document How the School Really Runs
Before configuring anything, write down the real process for each core workflow, including the unofficial workarounds. Ask:
- How does an enquiry become an enrolled student?
- Who marks attendance, when, and what happens to absences?
- What does the fee structure look like, including sibling discounts, scholarships, late fines, and instalment plans?
- How are marks recorded, moderated, and turned into report cards?
- Who approves what, and where do exceptions go?
This document becomes your configuration blueprint and your test script. It also forces early decisions, such as what counts as an "active student" and who may edit a record after approval. Left vague, these definitions turn into arguments during go-live week.
If your institution runs a heavier academic structure (semesters, credit systems, multiple programs), read our guide to the academic ERP system so you document those workflows correctly now, not mid-rollout.
Step 4: Phase the Modules
Switching on everything at once overwhelms staff and multiplies risk. Group modules into waves:
- Wave 1, core: student records (SIS), attendance, fees, and parent communication. These are used daily and give the fastest visible payoff.
- Wave 2, academic: exams and grading, timetable, homework, and admissions. These need a stable core first.
- Wave 3, extended: transport, library, HR and payroll, and inventory. They are specialized and have lower daily volume.
- Wave 4, advanced: analytics dashboards, automation, AI features, and LMS links. They are valuable only once your data is clean.
Not sure what each module does or how they connect? Our complete guide to school ERP modules explains every module a school system should have. Wave 4 is where tools like AI for education administration start to pay off, because predictive features need a few terms of clean, consistent data.
Step 5: Clean and Migrate Your Data
This is the step schools most want to skip and most regret skipping. The vendor can convert formats and run imports. Only your staff can decide which record is correct.
Give every dataset an owner who signs off
| Dataset | Owner | Check before migration |
|---|---|---|
| Student profiles | Registrar / admin | One record per child, correct class and section, no duplicates |
| Parent / guardian contacts | Admin | Current phone and email, one standard format, siblings linked |
| Fee structures and balances | Accountant | Balances reconciled to the accountant's own working figures |
| Staff records | HR / admin | Roles, contact details, and contract data current |
| Academic history and marks | Academic lead | Decide the archive line: which years move, which stay archived |
| Transport allocations | Transport coordinator | Routes and stops match current reality |
Three rules keep migration sane:
- Name a system of record. For each data type, one source wins when copies disagree.
- Migrate what you run on, and archive the rest. You do not need ten years of history inside the live system. Export and store old years safely.
- Run a test migration first. Import a small batch (one class or section), review it, and fix the mapping before the full load.
If you are replacing an existing ERP, keep a read-only copy of the old system until at least one full fee cycle and one exam cycle have run cleanly on the new one. Start cleaning at least two months before your planned go-live date, since this phase almost always takes longer than expected.
Step 6: Configure the System and Set Permissions
Now the vendor sets up your blueprint: academic year and terms, classes and sections, subjects, fee heads and schedules, grading scales, attendance rules, notification templates, and report card formats.
Accept the configuration only after you have seen your own report card, fee receipt, and timetable reproduced. Samples from the vendor's other schools do not count.
Set role-based permissions at the same time:
- Teachers see their own classes.
- Accounts see fees and finance.
- Leadership sees dashboards across the school.
- Parents see only their own children.
- Sensitive fields (health notes, discipline, salary) are restricted by role.
Permissions are also your answer to the question every parent eventually asks: "Who can see my child's information?" For administrator accounts, turn on multi-factor authentication. You can review how Clast approaches this on its data security page.
Step 7: Connect and Test Integrations
List every system the ERP must talk to, then test each with real devices and real transactions:
- Online payment gateway (test with a real, small payment, not just the vendor's sandbox)
- Biometric or RFID attendance devices
- GPS bus tracking
- SMS, email, and WhatsApp messaging
- Your school website
- Accounting software or an LMS
A gateway that works in a demo environment is not proof it works with your bank. Allow extra time here, because integrations are a frequent cause of delay.
Step 8: Run User Acceptance Testing and a Targeted Parallel Run
User acceptance testing (UAT) means the people who will do the work walk through real scenarios end to end. Clicking every button proves nothing. Test outcomes:
- Admission: create an applicant, upload documents, confirm enrollment, check the student appears for the teacher and accounts.
- Attendance: a teacher marks a class, admin sees the report, a parent receives the alert.
- Fees: generate a fee record, pay online, issue a receipt, confirm accounts reconciles it.
- Exams: enter marks, grades calculate, the report card matches your format.
Have each workflow signed off in writing by the person who owns it.
For high-risk areas, add a parallel run: do the same work in the old and new systems and compare results. Fee collection is the strongest candidate. If the totals match for a full billing cycle, switching over is evidence-based. Do not parallel-run everything, because double entry is tiring. Pick the workflows where a silent error would genuinely hurt.
Step 9: Train by Role, Not by Room
A two-hour auditorium demo for the whole staff teaches almost nobody. Train in short, hands-on sessions per role, using your own data:
- Teachers: attendance, marks entry, homework, and parent messages. Run 45-60 minutes using their own class list.
- Front office: enquiries, admissions, records, and notices. Make it hands-on with a real walk-in scenario.
- Accounts: fee structures, payments, receipts, concessions, and reconciliation. Allow a half-day with test transactions.
- Leadership: dashboards, approvals, and how to read the reports. 30-45 minutes is enough.
- Parents: installing the app, logging in, checking attendance and fees, and getting help. A one-page guide plus a short video works best.
Schedule training close to go-live so skills are fresh, and record sessions for new hires. Train internal champions (one per department) more deeply than everyone else, so help is two desks away rather than at the end of a support line. Clast's documentation and help center are useful starting material for these sessions.
Step 10: Run a Pilot
Before the whole school moves, run live with one or two classes, one department, or a group of willing teachers for two to four weeks. A pilot finds what test scripts miss: the fee concession nobody documented, the teacher whose phone cannot run the app, the notification that arrives at 11 p.m.
Fix those problems while they affect thirty families, not three thousand.
Step 11: Go Live with Clear Criteria and a Way Back
Do not choose go-live by date alone. Agree go/no-go criteria in advance:
- All Wave 1 workflows signed off in UAT
- Data migration reconciled (fee balances match to the unit)
- Payment gateway tested with live transactions
- Core staff trained, champions named
- Support process and escalation contacts published
- Rollback plan written and approved
Then plan the cutover:
- Announce the date to staff and parents at least two weeks ahead.
- Set a data cut-off after which nothing is entered in the old system.
- Back up all old data before the switch.
- Write a rollback plan stating which system is official if a stage fails, who declares it, and how interim entries are carried over. You will probably never use it, but staff commit more readily to a change they know is reversible.
- Consider staging by workflow (attendance first, fees second) or by campus.
Step 12: Hypercare and Adoption (First 30/60/90 Days)
Go-live is not the finish line. The pull back toward old habits is strong, and a paper register reappears at the front desk "as a backup."
- Weeks 1-2 (hypercare): hold daily check-ins, keep a visible support channel, and fix login and data errors quickly.
- Day 30: review login rates, attendance completion, fee transactions, and open issues. Retrain the teachers who need it.
- Day 60: retire old registers and spreadsheets formally, with a date, and complete a first fee or exam cycle.
- Day 90: compare results with your Step 1 baselines and plan Wave 2.
Measure adoption, not activation. "The system is live" is not success. "Receipts come only from the system" is.
How Long Does School ERP Implementation Take?
Any vendor who quotes one number without asking about your school is guessing. As a planning range (not a guarantee):
| School profile | Typical range | Main time drivers |
|---|---|---|
| Small school (under ~500 students), standard fees, core modules | 4-8 weeks | Data readiness, staff availability |
| Mid-size school (500-2,000 students), several modules | 8-16 weeks | Fee complexity, training logistics, integrations |
| Large school or multi-campus group | 16-30+ weeks | Data consolidation, campus-by-campus rollout, custom reports |
What shortens it: clean data, a small first phase, a decisive team, standard fee and exam structures.
What lengthens it: years of messy records, hardware integrations (biometrics, RFID, GPS), complex fee logic, custom report cards, and a large staff to train.
Most delays come from the school's side (data and decisions), not the vendor's. Ask for a milestone-based timeline that states what you must deliver at each milestone.
What School ERP Implementation Really Costs
The subscription fee is rarely the whole bill. Budget for:
- Implementation or setup fee (sometimes bundled, sometimes not)
- Data migration, especially from paper or legacy systems
- Training, including extra sessions for new hires
- Integrations (biometric, RFID, GPS, payment gateway, messaging)
- Customization (report cards, special fee logic)
- Internal staff time, the cost most schools forget. Data cleaning and parallel runs consume real hours
- Devices and connectivity upgrades, if needed
- Renewal increases in years 2 and 3
Frontline Education makes a related point in its K-12 ERP buying guide: a cheaper implementation can mean the vendor invests less in setting the system up for your needs, which leads to paid consulting and customization later. Always ask for a three-year total cost of ownership.
For subscription benchmarks, our cloud-based school ERP guide breaks down typical per-student pricing ranges by region. You can also see current plans on the Clast pricing page.
Plan Around Your Academic Calendar
The best implementation plan respects the school year. Avoid these windows for cutovers, training, and parallel runs:
- Admission season: keep the enquiry-to-admission workflow stable. Blueprint and data work can proceed, but not the cutover.
- Term-start fee weeks: go live before the cycle opens, or wait for the next one. Never switch mid-cycle.
- Exam and results periods: teachers and coordinators have nothing left to give.
- Staff turnover or leadership change: transitions are harder when the team is in flux.
Ideal windows are mid-term breaks and summer holidays for heavy work, with each workflow's go-live placed just before its natural cycle begins. This applies whether your year starts in April, August, September, or January. Map the dates onto your own calendar.
Data Privacy and Compliance During Implementation
An ERP holds children's data, so privacy needs a seat at the table from day one, not an afterthought at go-live.
Build into your plan:
- Data inventory: know exactly what you are moving and why.
- Data minimization: do not import fields you do not need.
- Vendor agreement: a data processing agreement covering ownership, storage location, breach notification, and return or deletion of data on exit.
- Access controls: role-based permissions and multi-factor authentication for administrators.
- Independent assurance: ask whether the vendor holds a security certification such as ISO/IEC 27001.
- Retention rules: decide how long old records stay and who can erase them.
Know the rules that apply to you (confirm details with your legal counsel):
- United States: FERPA protects student education records, and it generally allows schools to share them with vendors acting as "school officials" under the school's direct control and for legitimate educational purposes. Your contract should reflect that.
- EU and UK: GDPR requires a lawful basis, a processor agreement, and extra care with children's data and cross-border transfers.
- India: The Digital Personal Data Protection Rules, 2025 were notified in November 2025 with a phased rollout. According to analysis from the Observer Research Foundation, most obligations on data fiduciaries, including those for children's data, security safeguards, and breach notification, take effect after 18 months, which points to around May 2027. Law-firm summaries, such as this DSK Legal update, add that educational institutions are exempt from verifiable parental consent only where processing stays within defined purposes. Schools should therefore document their purposes carefully instead of assuming a blanket exemption.
Whatever your region, check where your vendor stores data and how it handles a breach. Clast publishes its approach on its data security page and privacy policy.
Special Situations
Switching from an existing ERP. Treat it as a migration project first. Export a full backup, map old fields to new ones, run a test import, keep the old system read-only through at least one fee and one exam cycle, and agree who owns historical reports.
Multi-campus groups. Decide shared definitions first (fee-head names, grading scales, "active student"). Pilot at one campus, then roll out campus by campus. Do not parallel-run every campus at once.
Colleges and universities. Higher education adds credit systems, program structures, and research or hostel workflows. Our guide to ERP for colleges and universities covers what changes compared with a school rollout.
Low-connectivity schools. Ask vendors about offline modes and low-bandwidth performance. Test on the actual devices and networks your teachers use, not the vendor's demo laptop.
Small schools. You do not need the full 12-step apparatus. Combine roles, skip Waves 3 and 4, and shorten the pilot, but keep the data cleanup, the fee reconciliation, and role-based training. These are where small schools also fail.
Common Mistakes and Early Warning Signs
| Mistake | Early warning sign | Fix |
|---|---|---|
| Treating it as an IT project | IT is the only team in the meeting | Make it an operations and change project, led by an administrator |
| Migrating dirty data | Parents report wrong names and balances in week one | Clean, reconcile, and test-migrate first |
| One generic training session | Staff still phone the one person who took notes | Role-based, hands-on sessions plus champions |
| Everything at once | Staff overwhelmed, features unused | Phase by waves |
| No real-scenario testing | "It worked in the demo" | Test end-to-end workflows with the real owners |
| Skipping the pilot | Surprises hit the whole school on day one | Pilot with one or two classes for 2-4 weeks |
| Going live in a peak period | Queues and errors during fee or exam weeks | Pick a quiet window |
| Ignoring parents | Low app installs | One-page guide, class-by-class introduction |
| No owner after launch | Old spreadsheets reappear | Appoint an ERP coordinator and retire old tools by a set date |
| No success metrics | Nobody can say whether it worked | Set baselines in Step 1 |
How to Measure Success
Track adoption, not just activation:
- Attendance: close to 100% of teachers marking attendance in the system the same day.
- Fees: 100% of receipts issued only from the ERP.
- Parents: app or portal activation rising each month, tracked as a percentage of families.
- Reporting: time to produce the monthly fee report, compared with your Step 1 baseline.
- Old tools: all manual registers and spreadsheets retired by a set date.
- Support: open tickets falling week over week after day 30.
Questions to Ask Your Vendor About Implementation
- Who is our named project manager (a person, not a support queue)?
- What exactly do you do, and what must we do, at each milestone?
- Is data migration included, and who cleans and who maps?
- Will you support a parallel run on our fee data?
- Can go-live be staged by workflow or campus, with a written rollback plan?
- How is training delivered, and is it role-based?
- What does post-launch support look like for the first 90 days?
- Which weeks of our calendar would you refuse to touch?
- What are the costs for implementation, migration, and training, in writing?
- How do we export all our data if we leave?
School ERP Implementation Checklist
Plan
- Goals and baselines written
- Project lead and core team named
- Current processes documented
- Modules phased into waves
- Go-live window chosen outside peak periods
Data
- Datasets inventoried, owners named
- Duplicates removed, contacts standardized
- Fee balances reconciled
- Test migration reviewed, full migration signed off
Build
- Classes, fees, grading, and report cards configured and approved
- Roles and permissions set
- Integrations tested with live devices and transactions
Test and train
- UAT signed off per workflow
- Parallel run on fees completed
- Role-based training done, champions named
- Parents given a one-page guide
Launch
- Pilot completed and issues fixed
- Go/no-go criteria met
- Date announced two weeks ahead
- Backup, data cut-off, and rollback plan in place
After
- Hypercare support running
- 30/60/90-day reviews scheduled
- Old registers retired by a set date
- Results compared with baselines
Conclusion
School ERP implementation works when it is treated as an operations project, not a software installation. Set measurable goals, give every dataset an owner, test with real scenarios, train by role, pilot before you scale, and watch adoption for the first 90 days. The schools that struggle are usually the ones that skip steps to save time and then spend that time three times over.
Ready to plan your rollout? Book a live Clast demo and ask for the implementation plan, not just the product tour. Bring your academic calendar and your current systems, and we will map the sequence to your school year. You can also explore how Clast supports schools of different sizes before you talk to us.